| Reducer Type | Concentric Reducer, Eccentric Reducer |
| Material | Carbon Steel --- ASTM A234 WPB/WPC, ASTM A105/A106/A53/A283-D, |
| API 5l GR.B/A671-CC-70/A515-50/A135-A/A179-C | |
| ASTM 403 304/304L, 316/316L,316Ti,321,317L,310S | |
| Alloy Steel --- ASTM 234 WP 1/5/9/11/12/22/91 | |
| Specification | Alloy Steel --- ASTM 234 WP 1/5/9/11/12/22/91 |
| WT: 2-80mm, SCH 40/80/XXS | |
| Surface | Light Oiling, Black Painting |
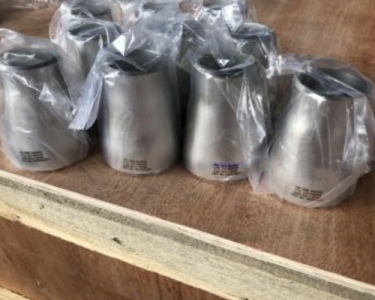
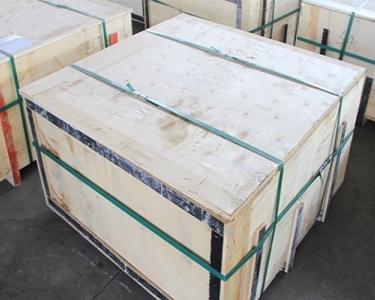
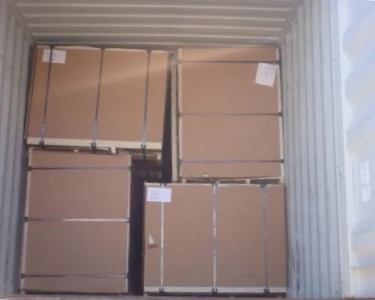
| Packing | Packed in Wood Cabins/ Wood Tray |
Reducer Type
Concentric Reducer, Eccentric Reducer
Material
Carbon Steel --- ASTM A234 WPB/WPC, ASTM A105/A106/A53/A283-D,
Stainless Steel --- ASTM 403 304/304L,316/316L,316Ti,321,317L,310S
Alloy Steel ---ASTM 234 WP 1/5/9/11/12/22/91
Specification
NPS from 3/4'' to 48'', DN from 20 to 1200
WT 2-80mm, SCH 40/80/XXS
Surface
Light Oiling, Black Painting
Packing
Packed in Wood Cabins/ Wood Tray
 pipe fitting reducer Introduction
API 5l GR.B/A671-CC-70/A515-50/A135-A/A179-C
 Specification of Steel Pipe Reducer
|
Nominal Pipe Size |
1/2-1½ |
3-3½ |
4 |
5-8 |
10-18 |
20-24 |
26-30 |
32-48 |
|
Outside Diameter at Bevel(D) |
+1.6 -0.8 |
1.6 |
1.6 |
+2.4 -1.6 |
+4 -3.2 |
+6.4 -4.8 |
+6.4 -4.8 |
+6.4 -4.8 |
|
Inside Diameter at End |
0.8 |
1.6 |
1.6 |
1.6 |
3.2 |
4.8 |
+6.4 -4.8 |
+6.4 -4.8 |
|
Overall Length(H) |
2 |
2 |
2 |
2 |
2 |
2 |
5 |
5 |
|
Wall Thickness(T) |
Not less than 87.5% of Nominal Wall Thickness |
|||||||
 Applications of Steel Pipe Reducer:
Hydraulic system
Pneumatic system
Pharmaceutical fittings
Air brake fittings
Gas fittings
Refrigerant fittings
 Material & Standard of Steel Tube Reducer:
Carbon Steel --- ASTM A234 WPB/WPC, ASTM A105/A106/A53/A283-D, API 5l GR.B/A671-CC-70/A515-50/A135-A/A179-C;
Stainless Steel --- ASTM 403 304/304L, 316/316L,316Ti,321,317L,310S;
Alloy Steel --- ASTM 234 WP 1/5/9/11/12/22/91
 Ends of Pipe Reducer:
Square Ends/Plain Ends (straight cut, saw cut, torch cut), Beveled/Threaded Ends
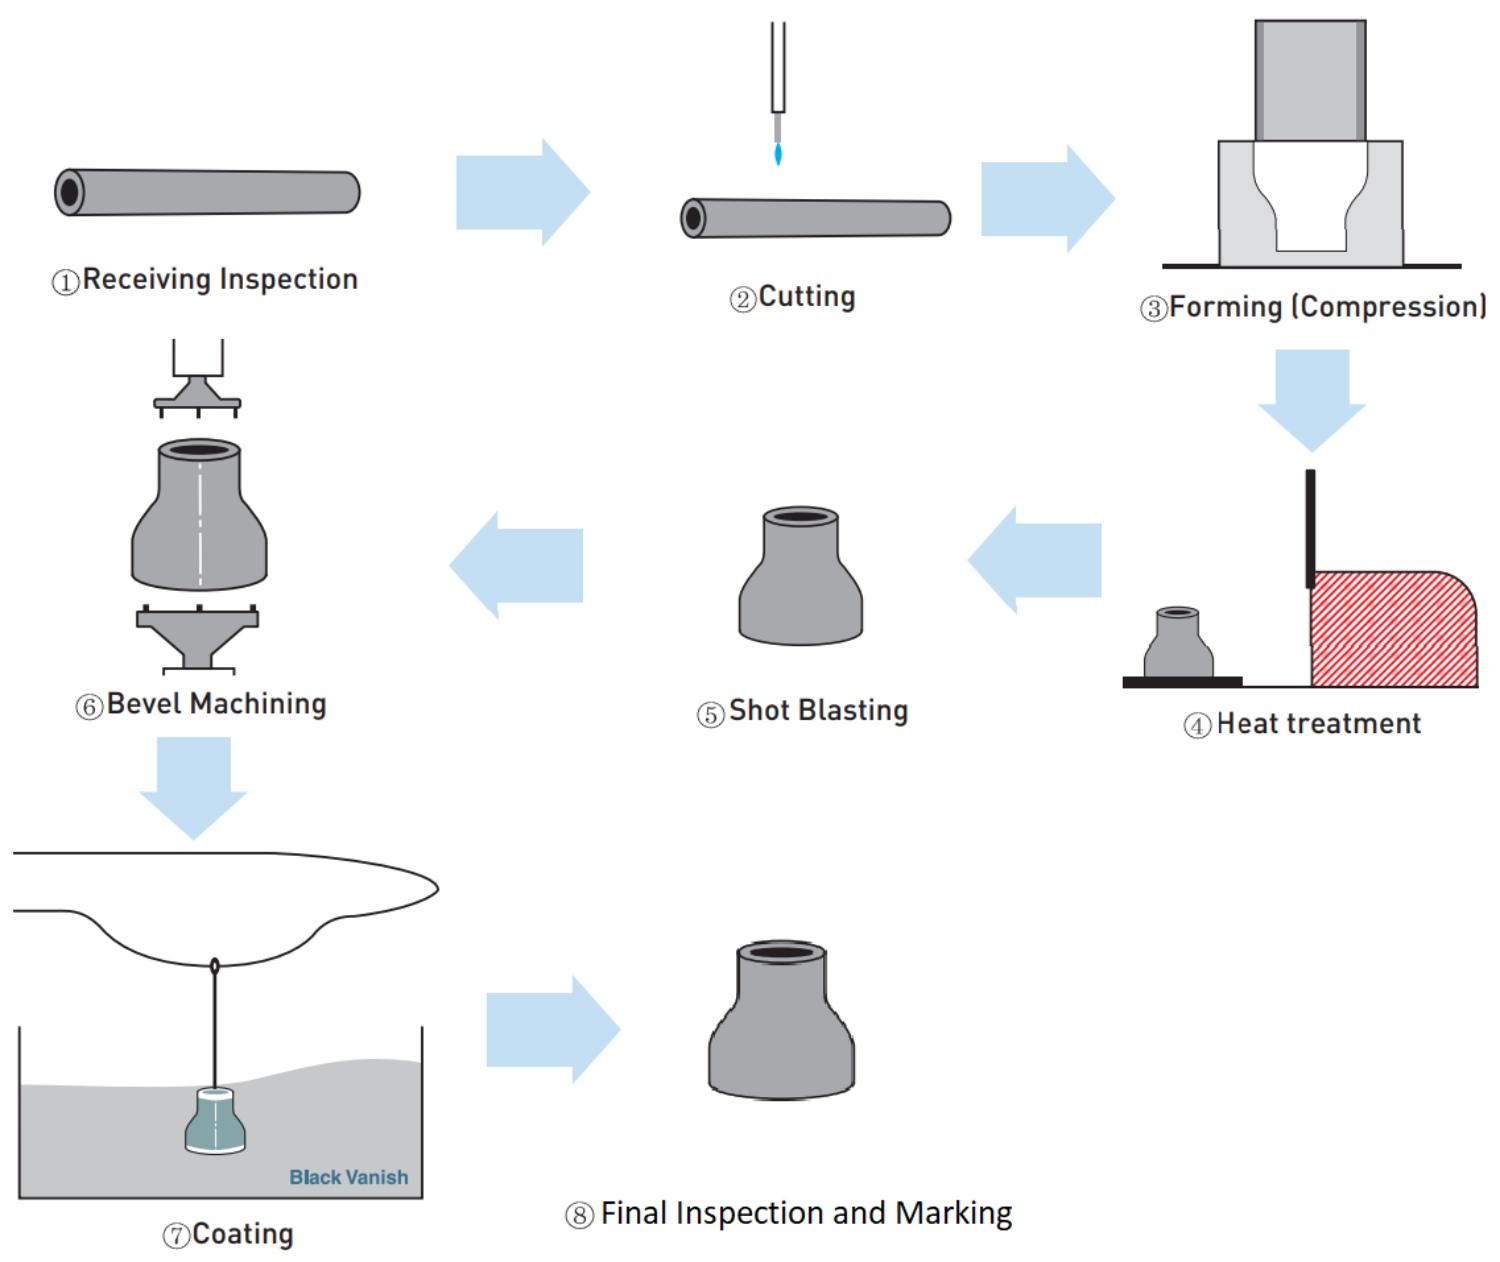
 Penetrant Testing:
Penetrant solution is applied to pipe fittings or flanges cleaned surfaces.The liquid is pulled into cracks or defects by capillary action.Excess penetrant material is carefully cleaned from the surface.A developer is applied to pull the trapped penetrant material back to the surface where it is spread out and shows an indication.This indication is much easier to find than the crack or defect.
Magnetic Particle Testing
A magnetic field is established in a pipe fitting made from ferromagnetic material.The magnetic lines of force travel through,exit and reenter the material at the poles.Defects such as crack or voids cannot support as much flux,and force some of the flux outside of the part.Magnetic particles distributed over this pipe fitting will be attracted to areas of flux leakage and shows a visible indication.
 Ultrasonic Testing
When the quality checker use a transducer to send the high frequency sound waves to a pipe fitting or flange.The waves travel through the product and are received by the same transducer or another one.The amount of energy transmitted or received and the time of the energy is received are analyzed to determine the presence of flaws.Changes in material thickness and properties could be measured too.
 Eddy Current Testing
The Eddy current testing is used a lot as the NDT method for seamless steel pipes.Alternating electrical current is passed through a steel pipe producing a magnetic field.When the pipe is placed closed to a conductive material,the changing magnetic field induces current flow in the pipe.These currents travel in closed loops and are called eddy currents.Eddy currents produce their own magnetic field that can be measured and used to find flaws.
 Radiographic Testing
Our QC team use RT to check the quality of welded seam.They put the radiation source and detector on the two sides of the seam,and use X-ray to produce images of welded seam from film or other detector that is sensitive to radiation.The thickness and density of the welded seam that X-rays must penetrate affects the amount of radiation reaching the detector.This variation in radiation produces an image on the detector that often shows internal features of the test seam.

|
NOMINAL PIPE SIZE NPS |
ANGULARITY TOLERANCES |
ANGULARITY TOLERANCES |
ALL DIMENSIONS ARE GIVEN IN INCHES. TOLERANCES ARE EQUAL PLUS AND MINUS EXCEPT AS NOTED. |
|
|
Off Angle Q |
Off Plane P |
(1) Out-of-round is the sum of absolute values of plus and minus tolerance. |
|
½ to 4 |
0.03 |
0.06 |
|
|
5 to 8 |
0.06 |
0.12 |
|
|
10 to 12 |
0.09 |
0.19 |
|
|
14 to 16 |
0.09 |
0.25 |
|
|
18 to 24 |
0.12 |
0.38 |
|
|
26 to 30 |
0.19 |
0.38 |
|
|
32 to 42 |
0.19 |
0.50 |
|
|
44 to 48 |
0.18 |
0.75 |
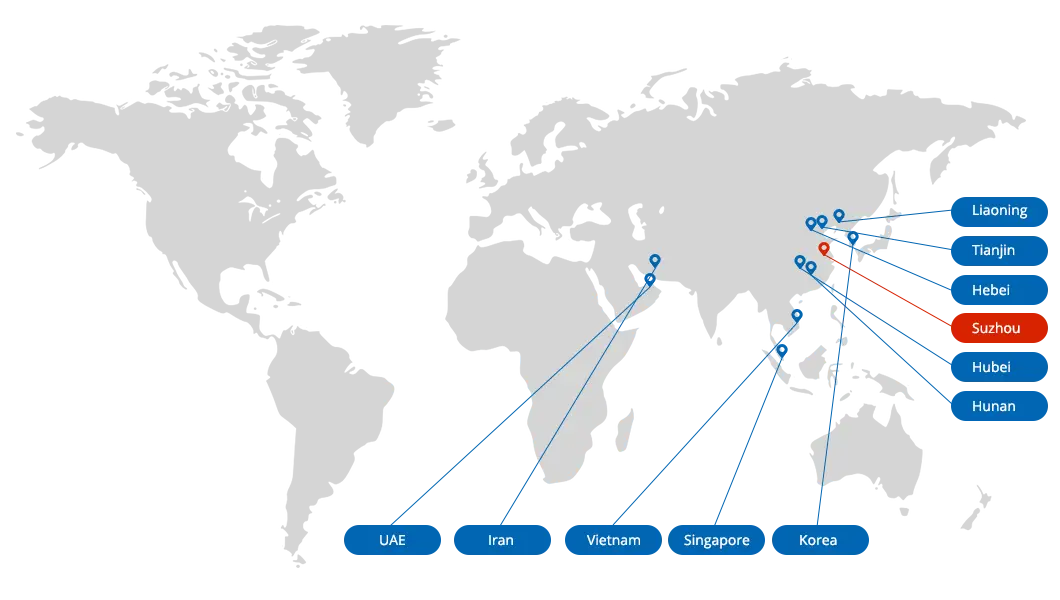
HuNan Province
+86-731-85648266
LiaoNing Province
+86-731-85648266
HeBei Province
+86-731-85648299
jiangsu Province
+86-731-85648299
TianJin City
Singapore
