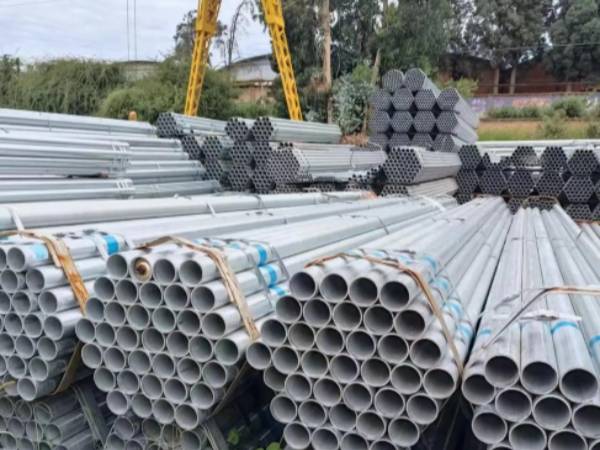
Galvanized steel pipes combine the durability of welded steel pipes (e.g., ERW pipes) with corrosion resistance from hot-dip or electro-galvanizing. Proper weld inspection ensures mechanical integrity, safety, and long-term service.

1. Types of Weld Inspection for Galvanized Steel Pipes
Weld quality inspection is divided into three main categories:
- Visual Inspection (VI)
Checks surface defects such as cracks, pores, slag inclusions, undercut, spatter, and depressions.
Uses the naked eye or low-magnification tools (<10x) plus weld gauges to measure weld width, reinforcement height, and undercut depth.
Typical limits: weld width 12–16 mm, reinforcement ≤3 mm, undercut ≤0.5 mm over ≤100 mm.
- Non-Destructive Testing (NDT)
Ensures internal and surface integrity without damaging the pipe.
Common methods:
Radiographic Testing (RT): Detects volumetric defects (pores, inclusions, lack of fusion) using X-rays or gamma rays (GB/T 3323).
Ultrasonic Testing (UT): Identifies deep-seated defects, cracks, and incomplete penetration (GB/T 11345).
Magnetic Particle Testing (MT): Reveals surface and near-surface defects in ferromagnetic materials (GB/T 12606).
Penetrant Testing (PT): Highlights microcracks and open defects on non-porous surfaces.
Eddy Current Testing (ET): Detects corrosion, surface defects, and wear; suitable for automated production lines.
- Destructive Testing
Tensile, impact, bend tests, and chemical composition analysis verify mechanical performance.
Often used for critical pipes such as high-pressure boiler tubes or deep-sea pipelines.
2. Standards for Galvanized Steel Pipe Weld Inspection
Internationally recognized standards ensure consistency and reliability:
ASTM / ISO Standards:
ASTM A53/A53M: Hot-dip galvanized pipes for fluid transport; requires electrical or hydrostatic weld testing.
ASTM F1083: Hot-dip galvanized pipes for structural use.
ISO 10893: Non-destructive testing series; ISO 17636/17640 specify RT and UT procedures.
ASME / API / GB/T:
ASME Section V: NDT methods for boiler and pressure vessel welds.
API 1104: Pipeline weld inspection standards.
GB/T 3091: Low-pressure galvanized welded steel pipes; GB/T 13793: Straight-seam resistance welded pipes.
3. How to Choose Weld Inspection Methods
Selection depends on product standard, defect type, and operational requirements:
Internal defects: RT or UT.
Surface/near-surface defects: MT (ferromagnetic) or PT/ET (non-ferromagnetic).
High-speed online inspection: ET or MFL.
Thickness or coating measurement: UT or ET.
Critical pipe verification: Combine multiple methods, e.g., UT + ET + MT/PT.
4. Best Practices for Galvanized Steel Pipe Weld Quality
Always follow applicable standards: API 5L, ASTM A106, GB/T 8163, ISO 10893, etc.
Combine visual, non-destructive, and destructive testing for comprehensive quality control.
Use trained inspectors and calibrated tools to ensure weld integrity.
Document and track results to meet project specifications and regulatory compliance.
Conclusion
Effective weld inspection of galvanized steel pipes ensures safety, corrosion resistance, and service reliability. By combining visual inspection, NDT (RT, UT, MT, PT, ET), destructive testing, and compliance with ASTM, ISO, ASME, API, and GB/T standards, manufacturers and inspectors can guarantee long-lasting, high-quality galvanized welded steel pipes for industrial, structural, and pipeline applications.
FAQ
Q1: What is weld inspection for galvanized steel pipes?
Weld inspection ensures galvanized steel pipe quality by detecting surface, near-surface, and internal defects using visual and non-destructive methods.
Q2: Which standards guide galvanized steel pipe weld inspection?
Inspection follows ASTM, ISO, ASME, API, and GB/T standards to ensure compliance, reliability, and safe welded galvanized steel pipe performance.
Q3: What are common non-destructive testing methods for welds?
Common methods include RT, UT, MT, PT, and ET, detecting surface, subsurface, and internal defects without damaging the pipe.
Q4: Why is visual inspection important for galvanized steel pipe welds?
Visual inspection identifies surface defects, verifies weld geometry, and ensures uniform width, reinforcement height, and acceptable undercut depth.
Q5: How to ensure comprehensive weld quality for critical pipes?
Critical galvanized pipes require combined inspection: visual, NDT (RT + UT + MT/PT), and destructive testing to guarantee mechanical integrity and corrosion resistance.